


What you need
This option uses the NordVPN browser extension and requires your own account and subscription with that service. It is configured in the profile as an alternative to a manual proxy. Its connection belongs to the profile browser; it is not the same as configuring a VPN for all of Windows.
Create the base profile
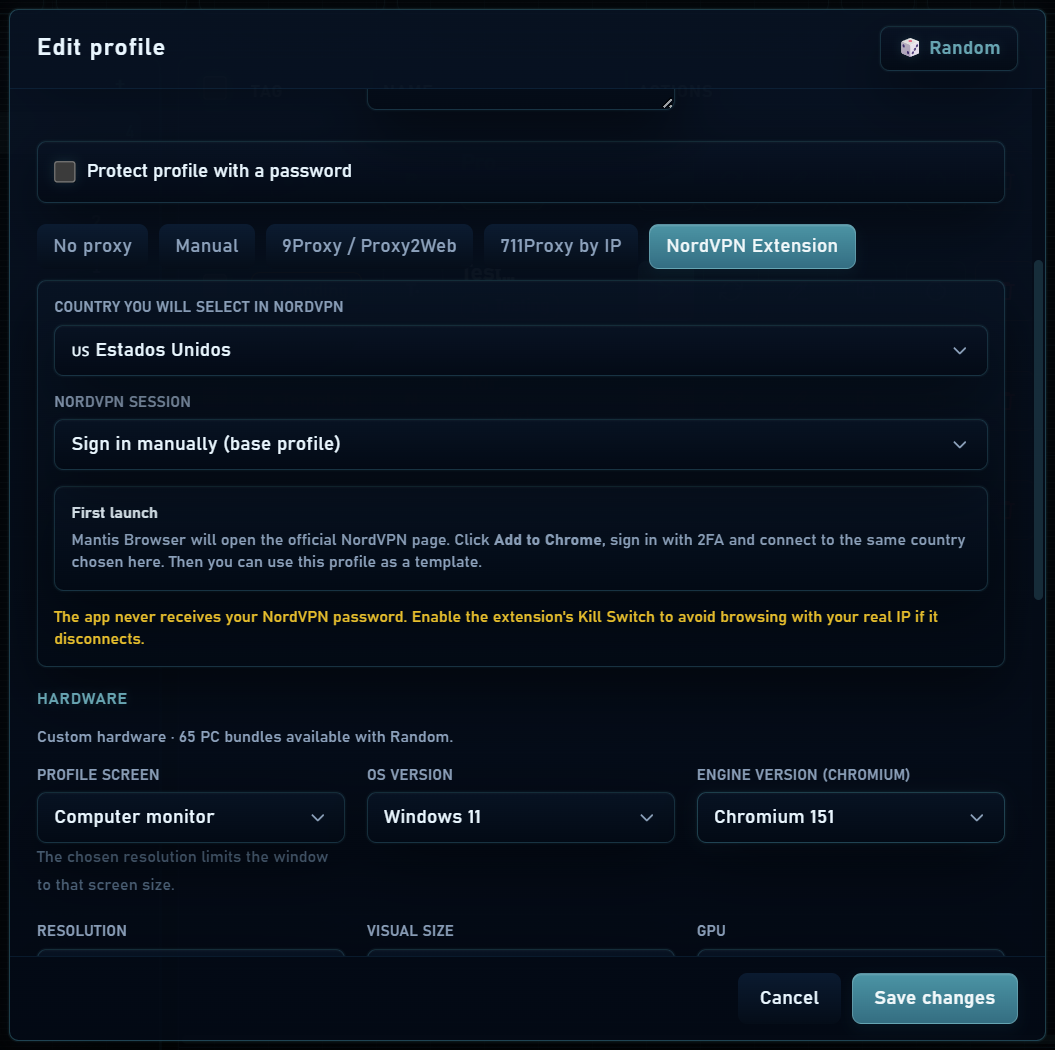
- Create or edit a profile and enable NordVPN Extension in its connection section.
- Select the country and the manual sign-in option for the base profile.
- Start the profile, open the official extension page and click Add to Chrome when prompted.
- Sign in to NordVPN and complete its verification. Connect to the selected country and check the IP.
- Stop the base profile before copying its session to other profiles.
Use a template session
- In another profile, enable NordVPN Extension and choose the base profile under NordVPN session.
- Review the country and the random US connection option if using it.
- Save with the template closed. The app copies the extension and its session locally.
- Start the new profile and confirm the connection. If the session expired, update the base profile and use Copy the session again on save.
Copying uses local session tokens; it does not need to copy your password or 2FA code. A session expired or revoked by NordVPN may require signing in again.
Check the connection
Check the IP from the profile window and wait for the extension to finish connecting before opening work websites. If the country does not match, review the extension, selected server and profile settings.